I will be presenting “Fishing Cuttyhunk: surf, kayak, and boat” at May club meeting of the Plum Island Surfcasters. Admission is free for members of the club and only $5.00 for the public.

I will be presenting “Fishing Cuttyhunk: surf, kayak, and boat” at May club meeting of the Plum Island Surfcasters. Admission is free for members of the club and only $5.00 for the public.
Several new moons ago, Ron McKee from Striper Maine-iac introduced me to “Caught” by Jeff Nichols. I finally got a chance to read it last month (during the hours that I should have been sleeping).

I found Jeff Nichols‘ writing easy to read and full of creative spellings, which I too am found of doing. His story is brutally honest. He communicates the real costs and tragic implications of becoming a striper addict. There is nothing romantic or glamorous about being a striper addict.
In addition to the threads, near death escapes, and sabotage, Jeff Nichols also shares some fishing tips. For example, he believes that large predatory striped bass feed during a 30 minute window and spend the rest of the tide digesting. And, according to him, the following tip is worth the cost of his book:
I generally like it when they predict thunderstorms. They tend to spook some percentage of the googan flotilla off the water. The trick is that a ‘slight chance’ of roughly 10% won’t cut it. What you want to hear is 30% chance of thunderstorms. Keeps people at the docks, and most of the time, if they crop up, the storms skirt well to the north of Montauk or Block Island.
Striped bass are a protected species. Each state on the East coast has it’s own regulations. Whether or not the current regulations, which vary from state to state, are effective is being vigorously debated. But, according the Jeff Nichols, the vast quantities of striped bass flooding the black market is the most significant threat to a sustainable striped bass fishery:
One thing’s for sure: if we do not stop recklessly slaughtering the striped bass solely in the name of commerce and ego, they will go the way of the buffalo.
I enjoyed reading Jeff Nichols‘ story. His story illustrates that fishing as a hobby, a competitive sport, or passion, has reward. But, fishing addition has no reward, only exponential costs to one self and the fishery.
My friend Earl Pacella has been fishing king salmon for 25 years. This past January he presented “Kings of New York” at the Plum Island Surfcasters.
Earl’s seminar was full of great tips. For example:
Earl Pacella’s great seminar has inspired me to take a road trip this fall! 😉
Fishing is not made in the U.S.A.. But, there are lots of fishing opportunities in the U.S.A! There are no shortage of saltwater fish and freshwater fish to target.

There are nearly countless fishing guide books and information available for fishing in the United States of America. But, did you know that each state has it’s own fishery website with overflowing free information? FREE! 😉
EAST COAST
SOUTH COAST
WEST COAST
INTER-COSTAL
I have a small library of guide books that I am expanding. But, I augment them with the information from each state’s fisheries website. All the information on these websites simply cannot be condensed into a book that you can easily carry. 😉
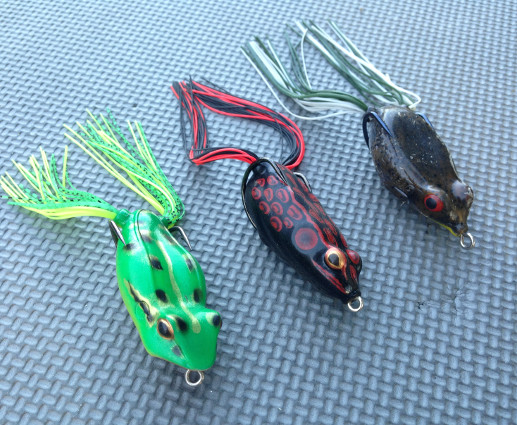
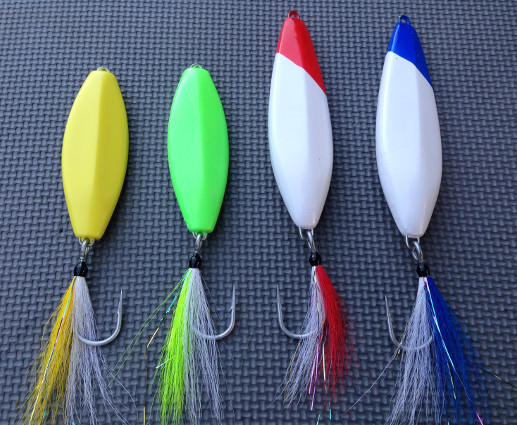
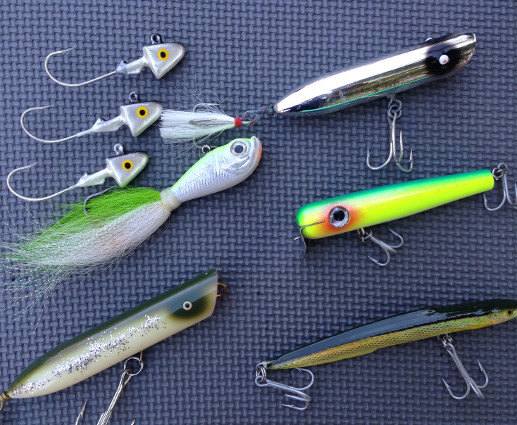
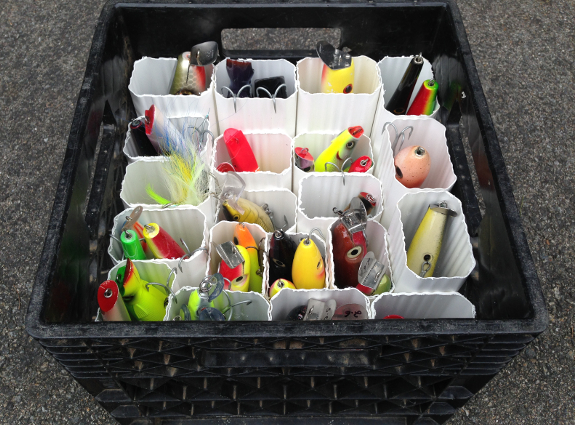
I hunt saltwater fish with plugs. I hunt freshwater fish with plugs. I hence have more plugs than my wife has shoes. However, to my wife’s delight, I have my own storage solution. I use custom plug crates.
To build your own custom plug crate, you only need some simple tools and inexpensive materials.
Tools
Materials
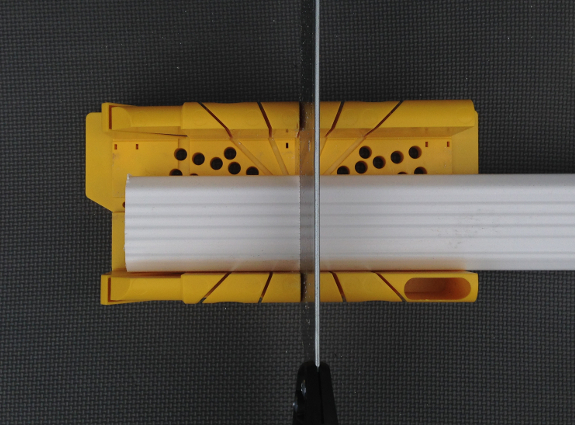
The first step in building your custom plug crate is to cut a total of 20 lengths from the PVC gutter drain tube. The best tool for this is a simple miter jig and handsaw; a power miter saw will chip the PVC gutter drain tube. If you have plugs of various lengths and you want to maximize a 10′ length of PVC gutter drain tube, then cut the following lengths:
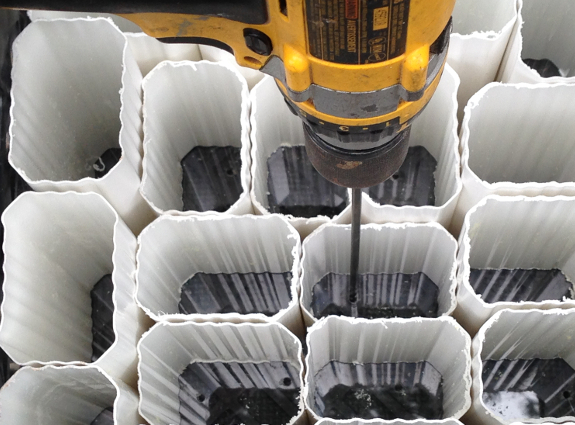
The second step is to prepare the bottom panel of the plug crate. Insert the 11 3/4″ x 11 3/4″ plexiglass into the milk create to cover the bottom. (Be sure to have the piece cut to size for you!). Insert the 20 square tubes into the milk create and arrange them to maximize the space. Using a 12″ long 1/8″ thick drill bit and power drill, drill two holes into the plexiglass for each square tube. This will prevent the tail hooks of your plugs from snagging the bottom of the milk crate and provide drainage.
This low cost and easy to build plug storage solution has several advantages. First, scale-ability: you can stack up to 4 plug crates on a 12″ x 12″ foot print. That’s a log of plugs! Second, portability: you can easily transport your plugs to and from your truck, boat, or kayak. And lastly, low maintenance: after a day on the water, put the plugs into the crate, wash them down with a hose, and let them dry until the next trip. That was easy! 😉
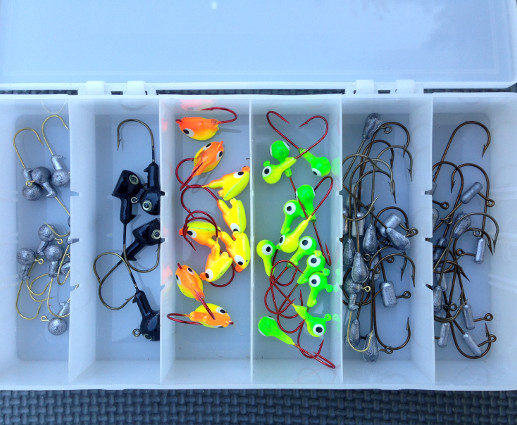
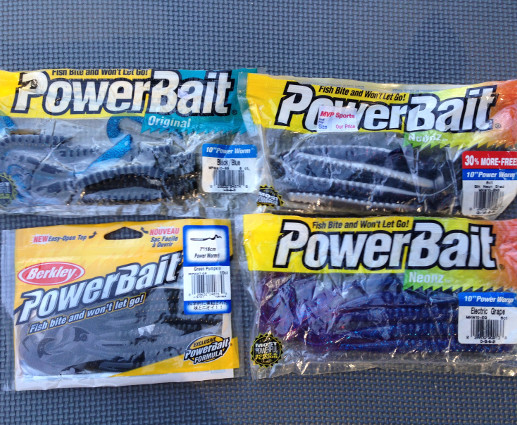
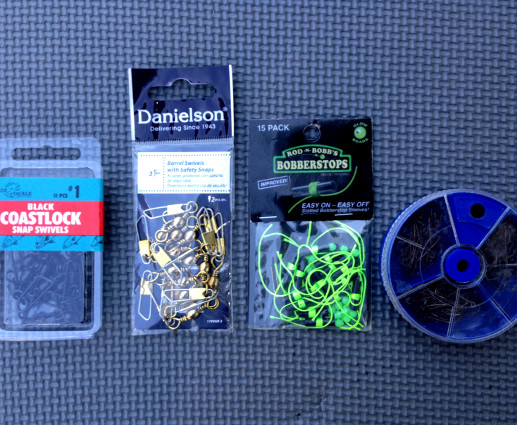
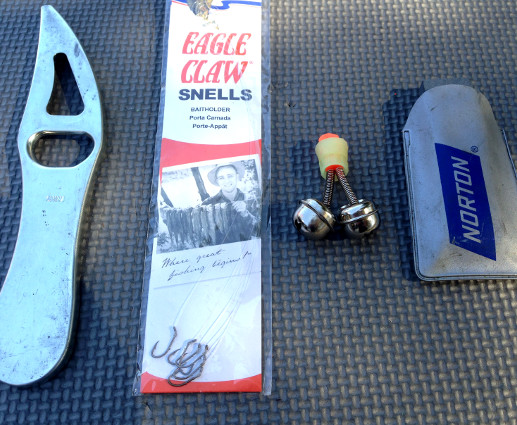
I am going to be exhibiting at Merrimack Valley Rotary Club 4th Annual Fishing Flea Market on behalf of a recent widow. 100% of the proceeds will go to her and her children. I will have a wide selection of rods, reels, lures, and terminal tackle.
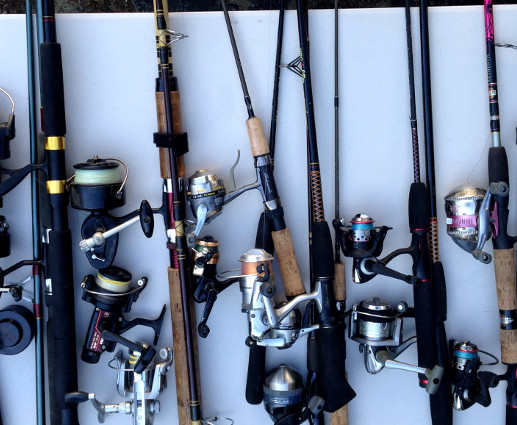
Stop by to pick up some good gear to great prices.

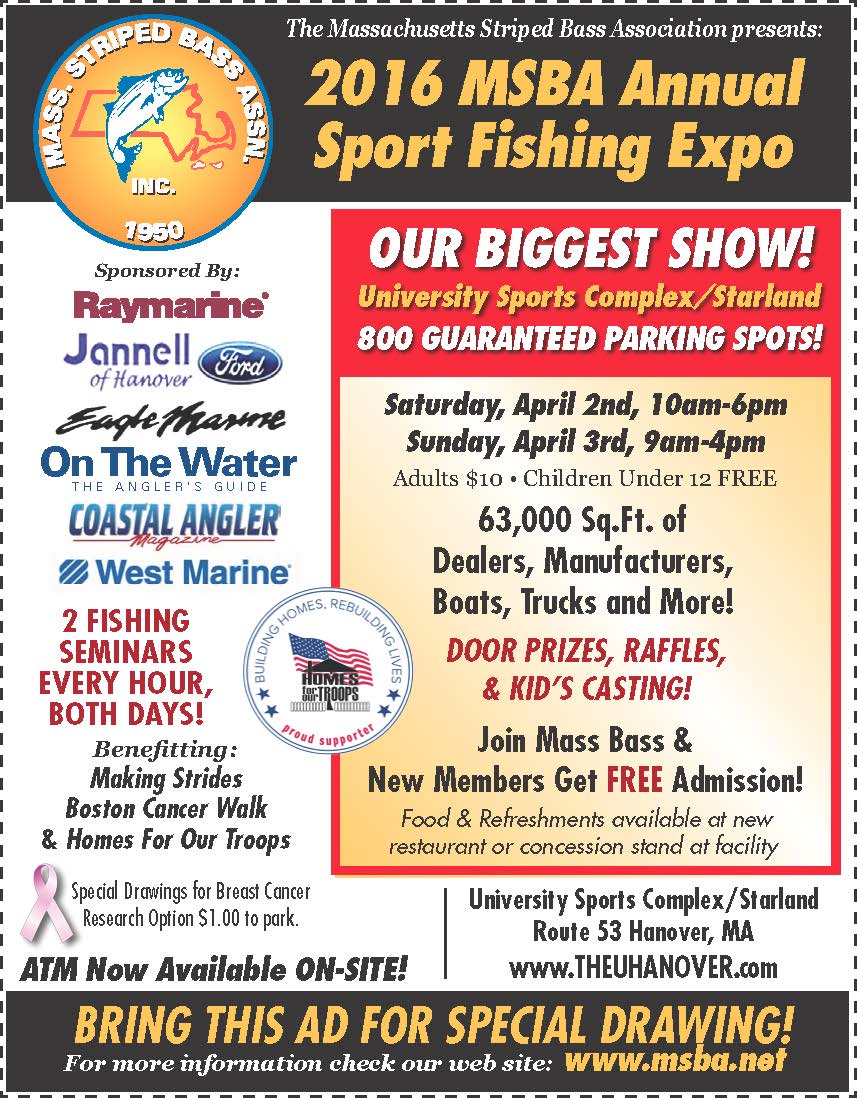
We are exhibiting at the MSBA Annual Sport Fishing Expo! Stop by to see the Fish360 Journal and it’s new wicked fishy features!! We also love to just talk fish!!! 😉
Many moons ago whilst walking through the halls of knowledge at my college, I had the selfish privilege of studying art. Philosophical arguments aside, art for me is something that is conceived in a person’s imagination and crafted into form to be viewed and enjoyed by others. Art is personal. Art connects with the viewer and makes him or her feel something. Lauren Grainer and Caroline Grainger create such works of art in their shop on Sandwich, Massachusetts.
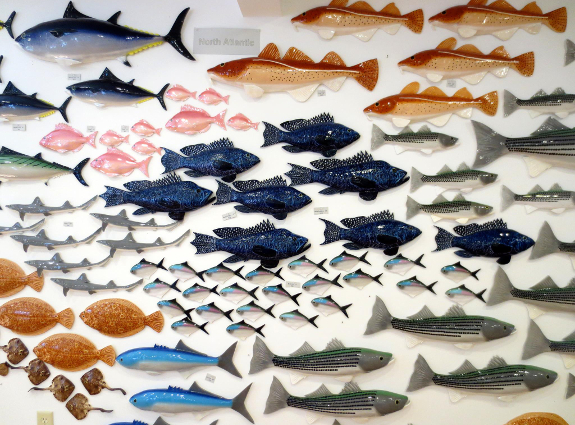
Lauren and Caroline, yes they are sisters, answered their vocation four years ago. Their passion and energy for their craft is reflected in the 100+ amazing aquatic species from 3.5 inches to 42 inches. They are always working on something new. For example, they are currently working on a smaller Dolphinfish and Sand dollar. Clearly, they are artists. But, they also do responsible “stuff” like pay bills (when necessary).
Each sculpture in Grainger Pottery Sandwich is life-like and bursting with color. So much so that the fish look like they are swimming the wall! My artistic appreciation is infinite. But, buy funds are finite. So I chose the fish that I connected with most: cod. Why? Well. It’s delicious! All joking aside, cod has strong cultural significance in my Portuguese heritage and to Massachusetts, which I call my home.

When I bought my cod from Lauren and Caroline at the New England Saltwater fishing show, I had no idea where I was going to hang it! Really!! No idea!!! Well, I can now say with confidence that a fish out of water looks at home in the kitchen. But, do not take my word for it. Just ask my envious friends.
Do you have a fish in your kitchen? Do you have a fish in your man cave? If not, I can help you select one. First, are you Portuguese? If yes, then cod. Second, do you live in Massachusetts? If yes, then cod (striped bass, sea bass, albie, bonito, sea bass, or tuna). Third, are you Portuguese and live in Massachusetts? If yes, then drop Lauren and Carolyn a line today! The cod are swimming out of the shop!!!
Kayak pole anchors for shallow water anglers are available on the market. They are not inexpensive and typically have a length of 8 feet. You can buy one or your build a custom shallow water kayak pole anchor between 6 and 10 feet.

Building your own custom pole anchor is easy. All you need is some inexpensive materials and basic tools. The build procedure only has four steps!
Materials
Tools
The first step is to build the shaft. Cut the 3/4″ copper pipe and 3/4″ PVC pipe to your desired length. Insert the copper pipe into the PVC pipe.

The second step is to build the handle. Cut two 1 1/2″ lengths from the left over length of 3/4″ PVC pipe. Prime and glue these two lengths to the ends of the T fitting. Glue the two end caps to the protruding ends of the two lengths.

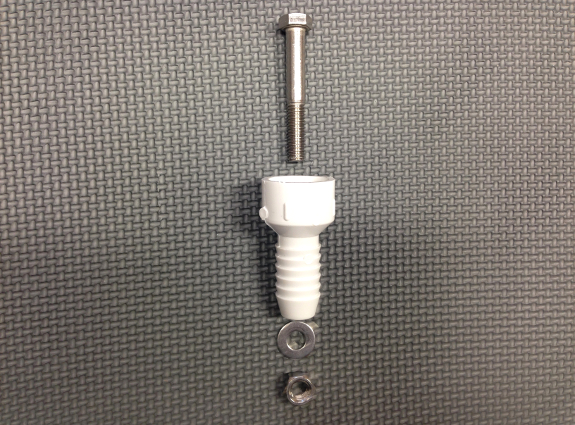
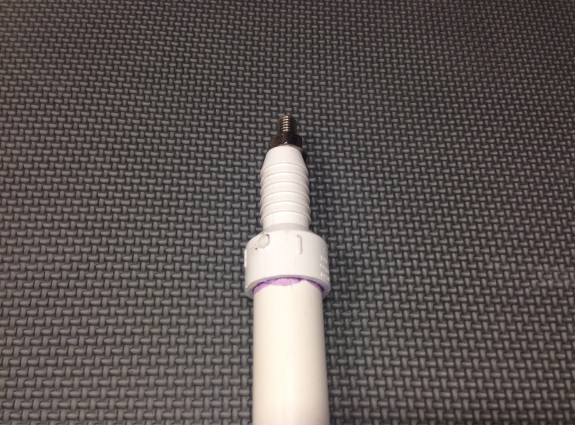
The third step is to build the tip. Insert the stainless steel bolt into the tapered 3/4″ PVC fitting and secure it with a stainless steel washer and nut. For a water tight seal, cover the head of the bolt inside the fitting with a generous amount of PVC cement.
The forth and final step is to join the shaft to the handle and tip. Prime both ends of the shaft. Glue the handle to one end.
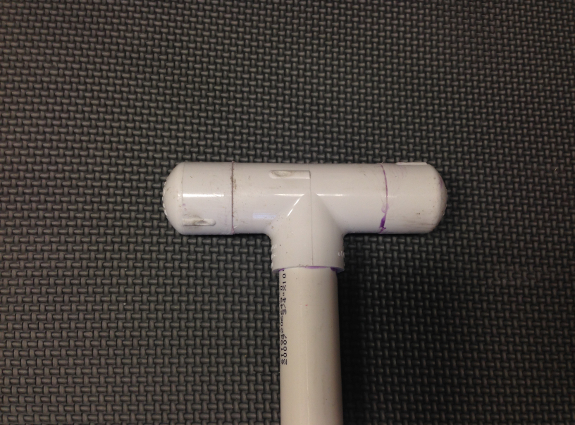
Then glue the tip to the other end of the shaft.
The commercial pole anchors work. No question. But, I prefer my custom 10′ anchor, which allows me to fish up to 9 feet of water. Once anchored, I can paddle around the pole until my kayak is in the exact angle that I need to fish the respective structure. During my field test, I literally turned my kayak 180 degrees while anchored. My DIY kayak pole anchor costs 75% less than a commercial pole anchor, but it’s value is priceless. 😉