Ice Fishing Patterns

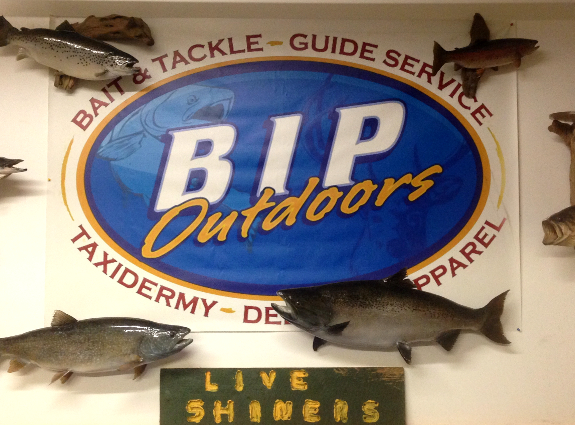
I arrived at BIP Outdoors at 6:30 AM this morning to buy some lively shiners and jigs. This was my first time in BIP Outdoors. I was impressed with the live well system and the ice fishing tackle. With no time to waste, I was drilling holes by 7:00 AM. The ice was 12 inches thick with 6 inches of slush. The air temperature was 62 degrees. And the fog was thick. I have never ice fished under these conditions.

Fish360 Ice Fishing 2017 BIP Outdoors

Using my Jiffy Pro4 auger, I drilled a set holes in a straight line from near the shoreline towards the center of the lake. I drilled a second set of holes parallel to these holes a short sprint away. This proven pattern allows me to fish the entire water column and cover a wide area.

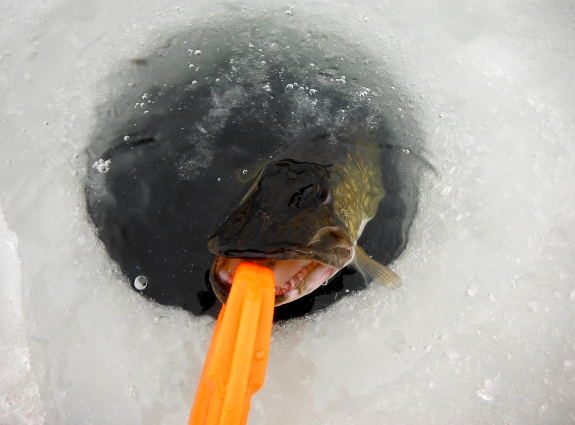
I rigged my Jacks Traps tip-ups with shiners and set them up on the first set of holes. My first fish was a black crappie. My second fish was a yellow perch. And then swam in the pickerel! My first pickerel weighed 1 lb 9 oz. My second pickerel weighed 2 lb 2 oz. And my third pickerel weighed 2 lbs and 7 oz. This fish was so powerful, it move the entire tip-up!

Fish360 Ice Fishing 2017 Chain Pickerel

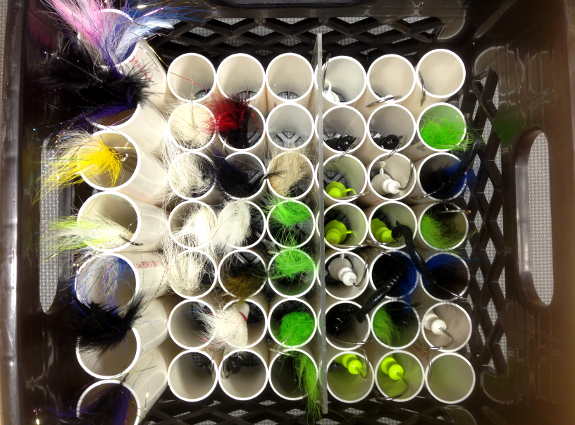
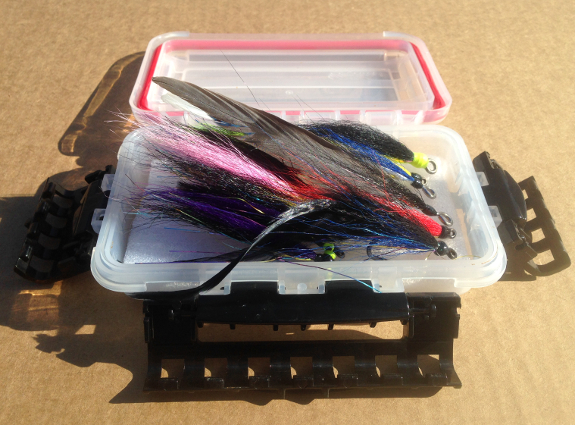
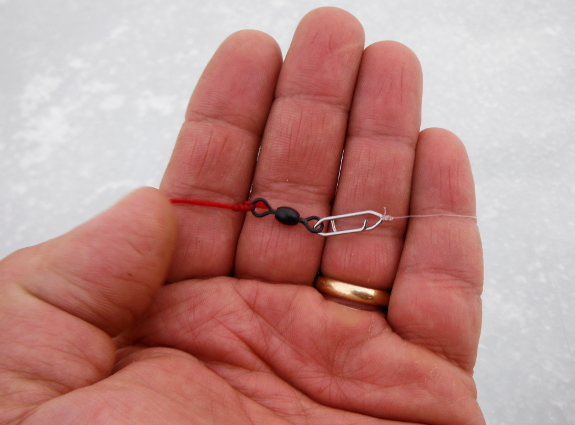
After each pickerel, I quickly replaced my 10 lb fluorocarbon rigs by slipping the Tactical Anglers power clip off and on the swivel secured to the tip-up line via Palomar knot. Tying knots on the water is slow. Tying knots when your hands are cold and the wind is blowing is even slower! Time is fish!! Re-rig via swivel and clip!!!

Fish360 Ice Fishing 2017 Ice Fishing Re-Rigging

With my tip-ups in my peripheral view, I jigged the second set of holes from shallow to deep and back again. My first fish on the Eurotackle tungsten ice jig was a ferocious yellow perch. This presentation hooked several more perch and sun fish.

Fish360 Ice Fishing 2017 Yellow Perch

This was my first time on this lake. This was my first time ice fishing under these conditions. I exploited a pattern from my fishing journal and caught fish. Fishing patterns will help you hook fish! But, good gear and technique will help you land fish!! Go fish!! 😉

Facebooktwitterlinkedin

DIY Jig Crate

Jigs (bucktails and metals) allow anglers to work the entire water column for a multitude of species in freshwater and saltwater. Their versatility is virtually un-matched. Fishing them is easy. Storing them is not so easy. Hence, my inspiration to develop a jig crate.

Fish360 DIY Jig Create

Making your own jig crate is easy. The only materials you need are 1.5″ diameter SDR PVC pipe and a milk crate. The tools you need are a miter saw, a tape measure, and a pair of safety glasses.

The first step is to cut the jig tubes. The length of the jig tubes depends on the type of jigs you want to store. I use 4.5″ lengths for my bucktail jigs and 6″ and 8″ lengths for my metal jigs. A milk create will store 49 1.5″ diameter jig tubes evenly. That’s 49 cuts! I use a piece of 2″ x 4″ stock as a guide/stop so that I cut the jig tubes at the respective length and save time measuring.

Fish360 DIY Jig Create

Once all the jig tubes are cut, insert them into the milk create. You can use a 11.5″ long piece of plexiglas to sub-divide and organize the jigs, like you would sub-divide a Plano box. I like to separate my surf bucktails from my canal buck tails.

Alternatively, you can use a jig crate specifically for surf bucktails (1/2 oz to 4 oz) and thin profile jigs using 1″ diameter SDR PVC pipe. A milk create will store 81 1″ diameter tubes evenly! That’s 81 cuts!! Use a piece of 2″ x 4″ stock as a guide/stop!!!

Fish360 DIY Jig Create
Building your own low-cost jig crate gives you a versatile storage solution. You can organize you jigs by size, color, type, or application. You can also stack your jig crates to minimize their foot print. Your jigs are versatile. Your jig storage should also be versatile! 😉

Facebooktwitterlinkedin

DIY Fly Box

I target fish via fly in freshwater and saltwater. In calm and in gear-breaking conditions. I cast small and BIG flies. Hence, I created my own fly box.

Fish360 DIY Fly Box

Making your own fly box is easy. All you need is:

  1. Plano water-proof box without any internal dividers
  2. Styrofoam (recycled or from a craft store like Michael’s)
  3. Ruler
  4. Permanent Marker
  5. Scissors

Measure the interior width and length of the Plano box. Mark the styrofoam with the measured width and length via permanent marker. Using the scissors, cut the styrofoam outside the lines. Insert the styrofoam rectangle inside the box and trim as required. The styrofoam needs to be slightly wider and longer than the interior of the Plano box so that it pushes against the sides and thus does not fall out when you open the box.  For additional security, use super glue or epoxy to permanently mount the styrofoam to the bottom of the Plano box.

Fish360 DIY Fly Box

This inexpensive fly box is feature rich. It can hold more flies than I can fish in a single trip or tide. The internal volume allows for flies with big hooks. The hard outer shell can take abuse from extreme conditions. The rubber gasket and three latches keep my flies dry. Now that’s fishconomic!

Facebooktwitterlinkedin