I tie my own teasers, tails, and flies. In order for my medium viscosity fly tying epoxy to harden evenly, I need to rotate my presentations as the epoxy cures. Hence, I made a rotary fly drier.
All you need for this simple rotary fly drying solution is a cordless power drill; a machine screw with two flat washers and a nut; an elastic; and some recycled styrofoam cut in the form of a circle. I like to use recycled styrofoam from food tray containers— I just double up the circles for more “holding power”.
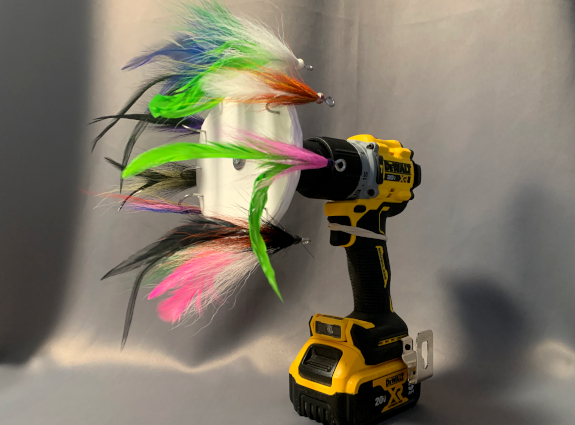
Once you have the materials, mark the center of the styrofoam circle(s) and punch a hole through the mark to accommodate the threaded bolt. Insert a washer into the bolt. Insert the bolt with the washer through the styrofoam circle(s). Insert the second flat washer and thread on the nut until the washers are pressed against the styrofoam circle(s). Secure the fly dryer assembly to the drill’s chuck and wrap an elastic on the drill’s handle to apply a light pressure on the trigger, which keeps the drill rotating at a low speed.
This is a great option if you already have a cordless drill with “pedestal” base. You are simply expanding the applications of your already existing tool and increasing your ROI (return on investment).